本文记录了创建自己的 Hexo 博客过程。
环境准备
Node.js:https://nodejs.org/zh-cn/
Hexo
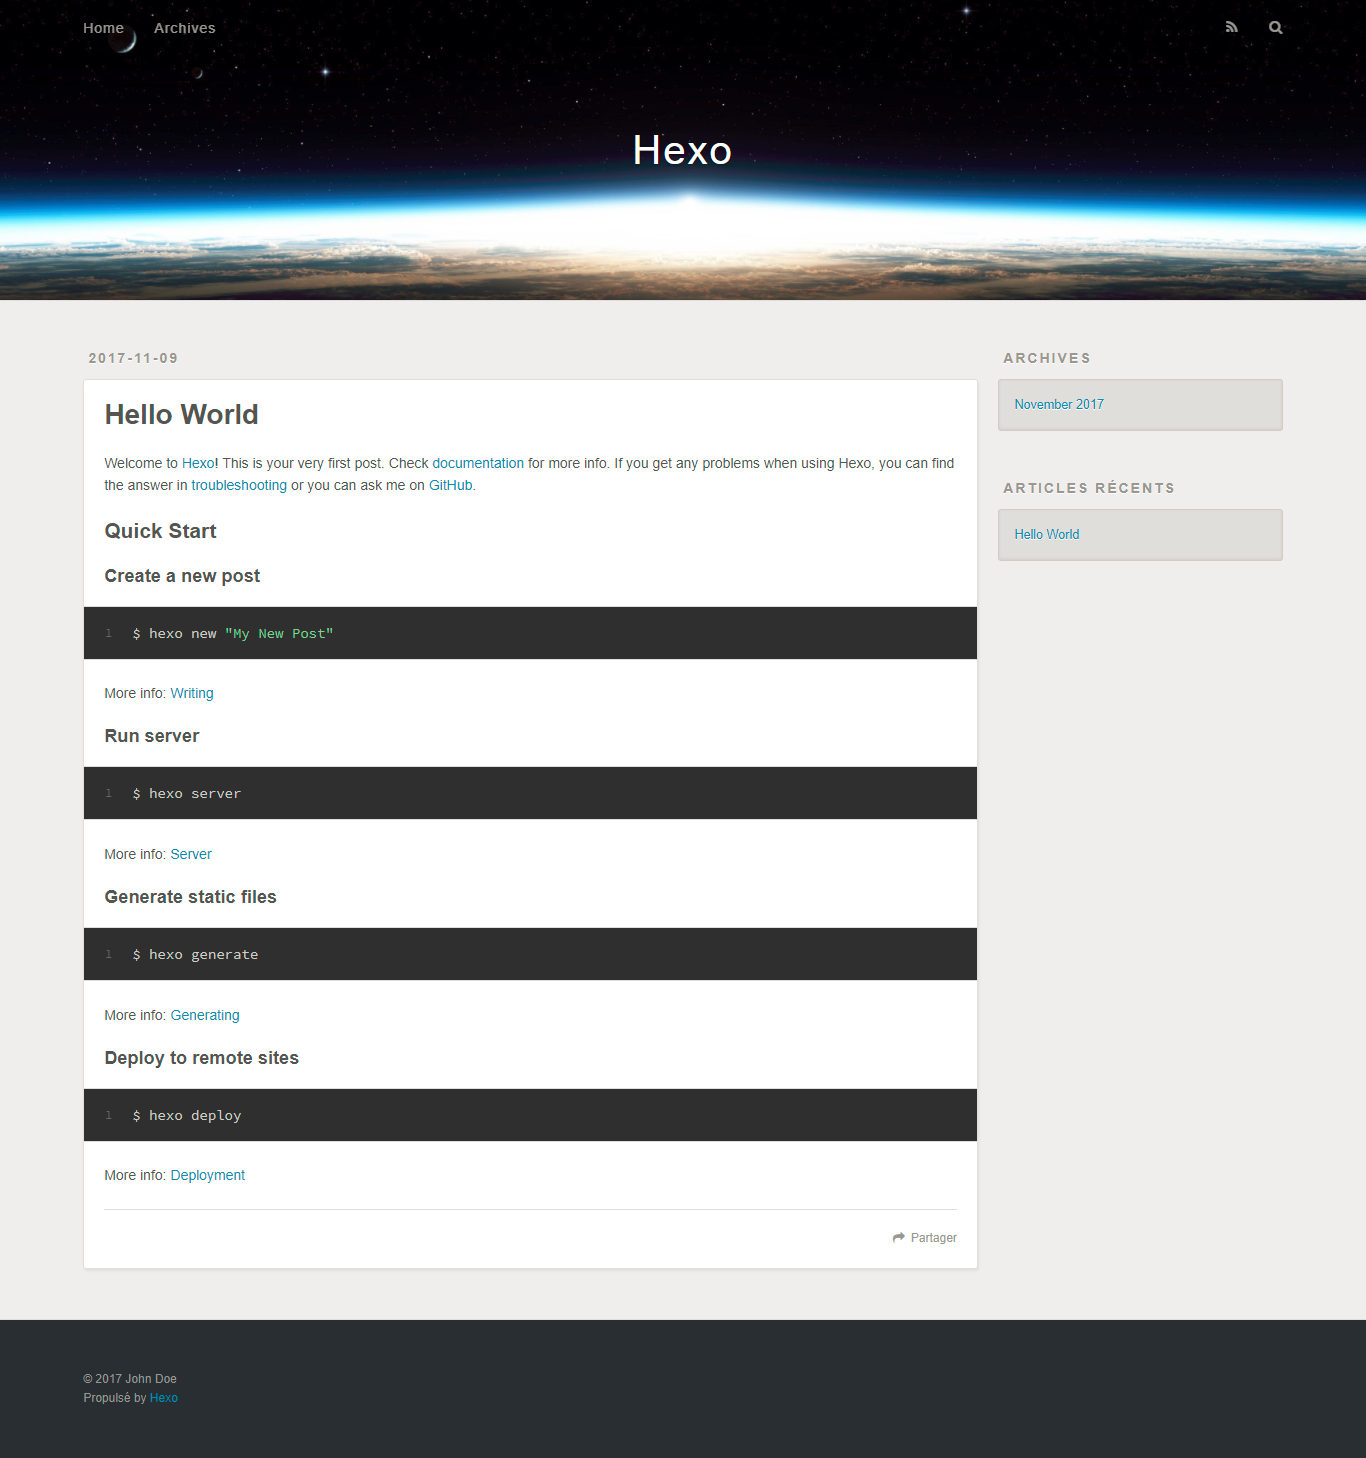
如果需要搭建自己的博客(网站),强烈推荐查看官网教程。Hexo:http://hexo.io/
安装
1 | npm install -g hexo-cli |
通过 hexo --version 验证 Hexo 是否安装成功。
初始化
1 | hexo init <dir> |
执行成功后,即站点完成初始化工作。
启动服务
1 | hexo server |
启动成功后,访问:http://localhost:4000/
NexT
自己的博客选择了 NexT 主题,详细说明请查看官网教程。NexT:http://theme-next.iissnan.com/
安装
1 | cd my-hexo-site |
启用
修改文件 my-hexo-site/_config.yml 的 theme 属性值为 next ,重启服务。
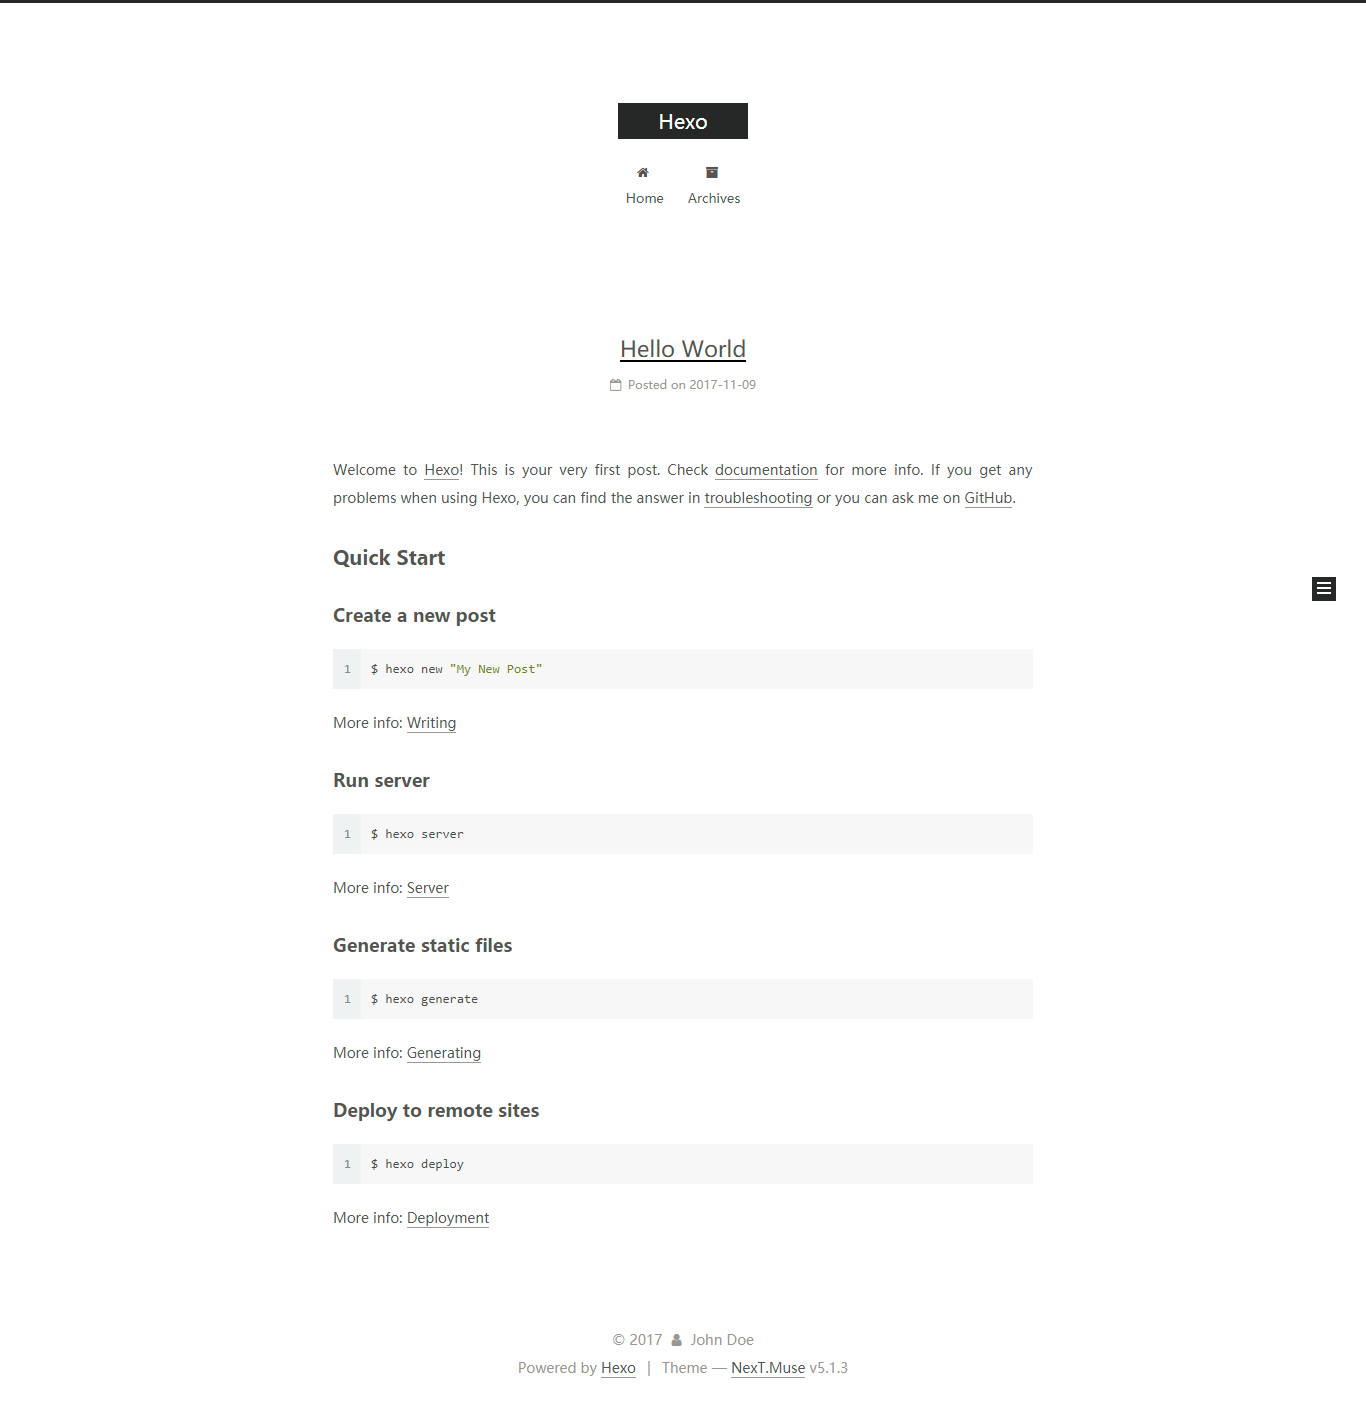
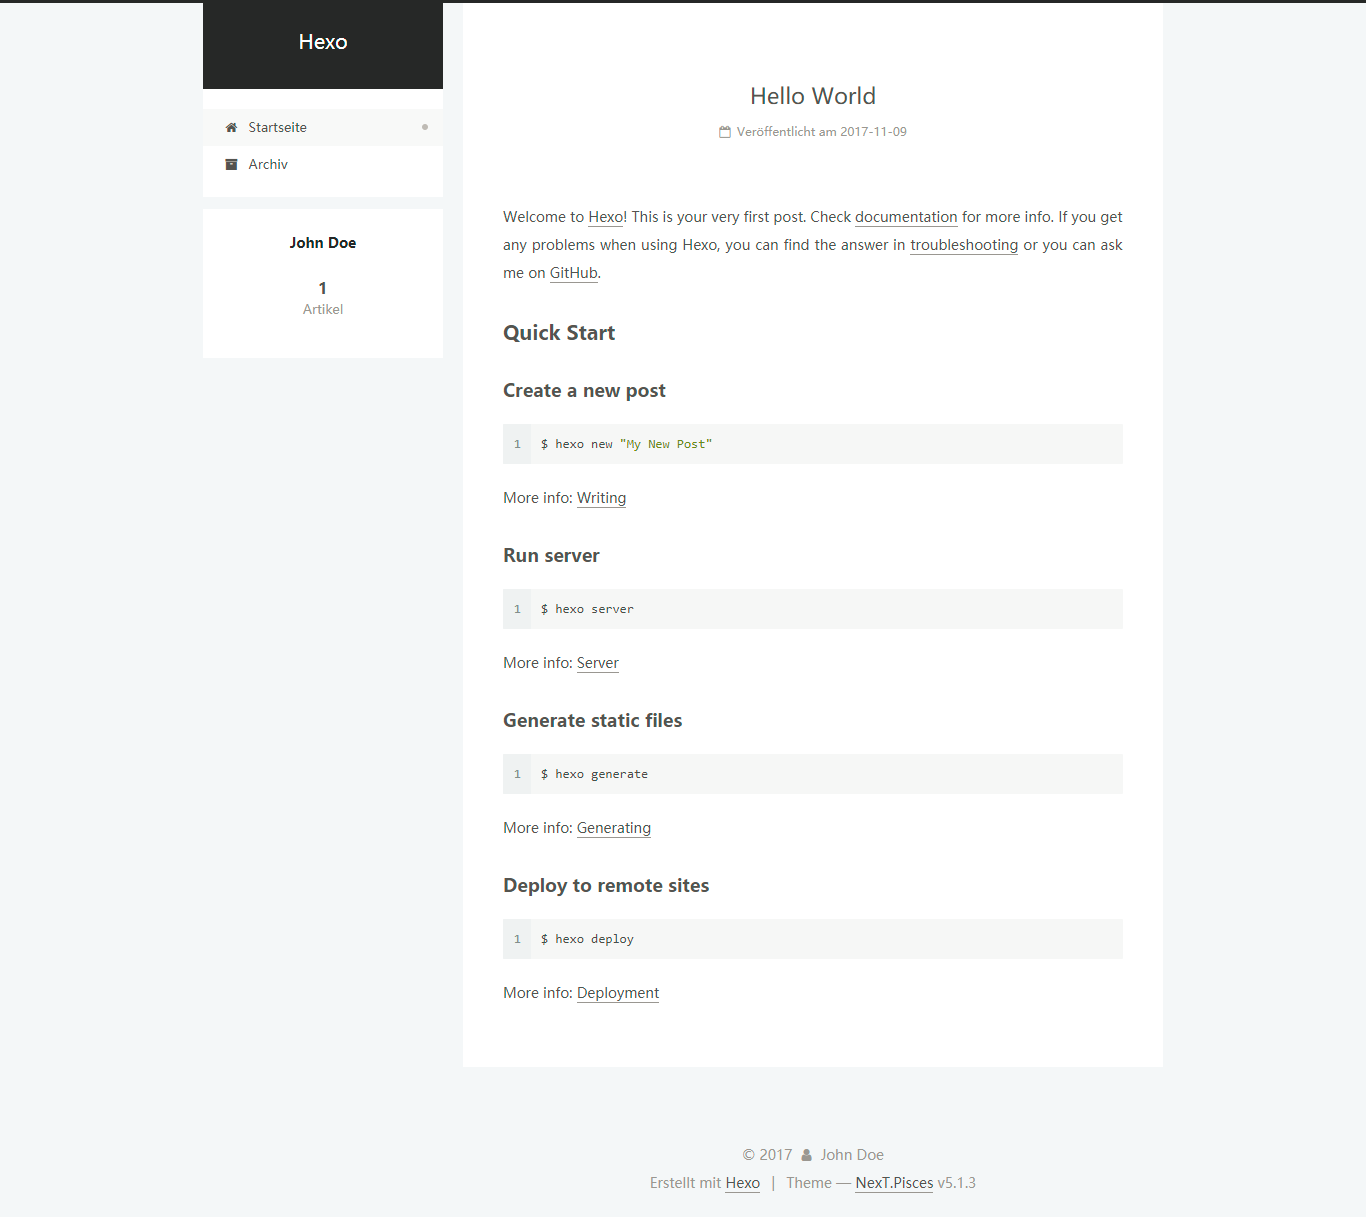
切换 Scheme
NexT 支持多种外观风格,默认使用 Muse,如上图。
修改文件 my-hexo-site/themes/next/_config.yml 的scheme属性值为 Pisces 来切换风格。
1 | #scheme: Muse |
NexT 还有更丰富的配置及第三方扩展,具体请查看官网。
感谢
感谢 Hexo ,感谢 NexT,感谢 OpenSource,让我们能够方便的定制自己的站点。